FastAddressClient is installed with a predefined SendKeys configuration that will send address labels to the foremost window with each element output on a new line.
This section covers a step-by-step guide to setting up the SendKeys functionality. It sends keys to Notepad as a demonstration. Sending to other applications simply requires substituting the appropriate target window and key combinations for navigating between fields.
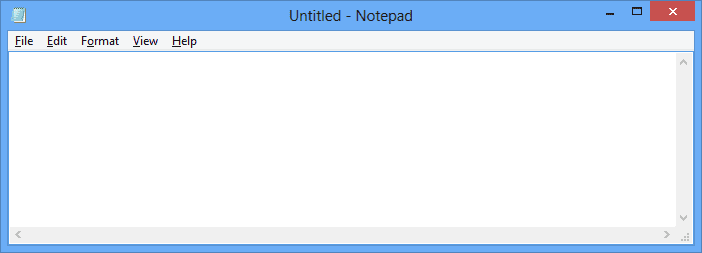
First, start an empty Notepad. You should have a screen such as the following:

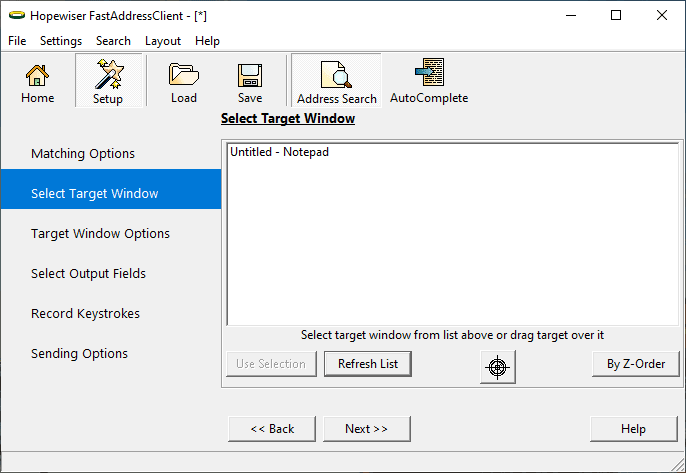
Return to FastAddressClient, click the Setup icon in the toolbar and then click the Select Target Window link from the left hand options.

Select the window you wish to send the address fields to. In this case toggle the By Z-Order/By Title button so that Untitled – Notepad is displayed and select it, then click the Next >> button.

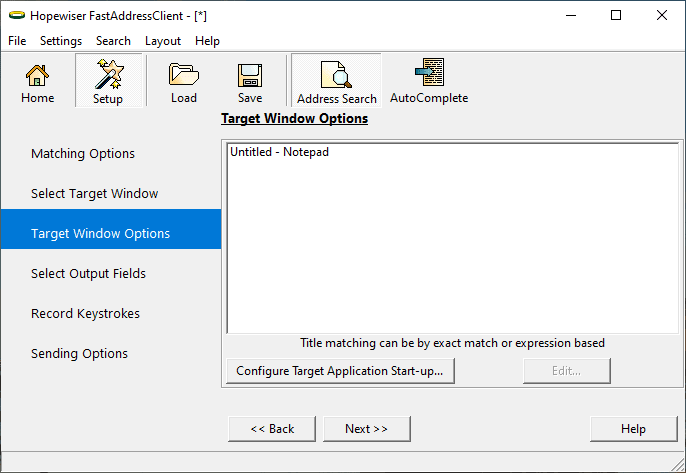
If you wanted to, you can now choose to start the target application each time address fields are sent to it by clicking the Configure Target Application Startup… button (Please refer to the online help for further information).
Click the Next >> button.

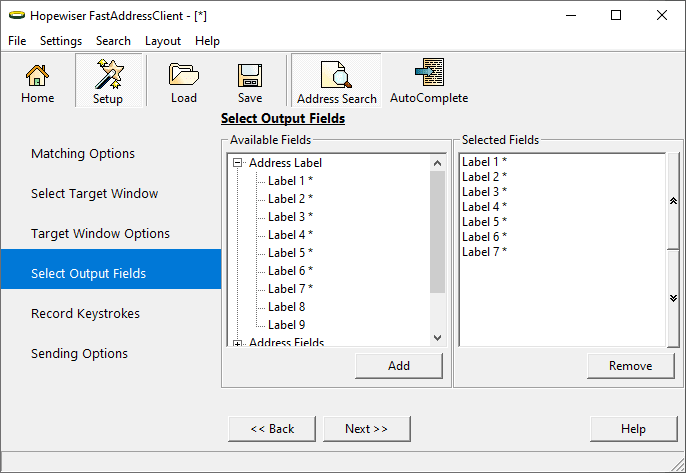
Choose the fields that you would like to send to the target application. For the demonstration we will choose to send the address label and the UDPRN.
Click the Next >> button.

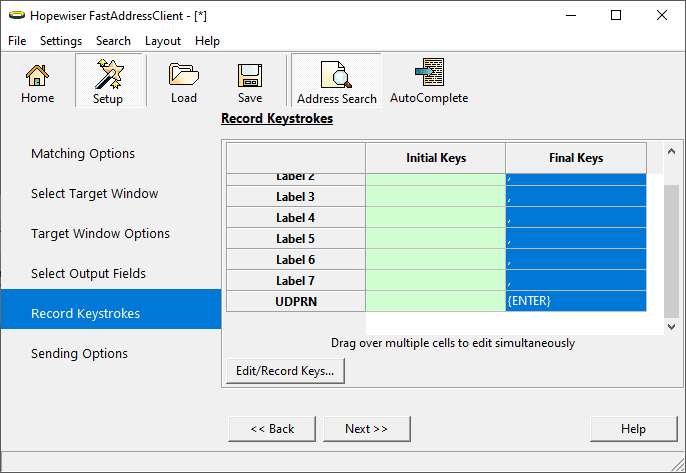
This page allows you to specify key strokes that are applied between each output field, such as tabs to navigate the cursor within the target application. For demonstration purposes we will change the predefined configuration to place a comma between each field.
Highlight the Final Keys column for all fields except the final UDPRN field, then click the Edit/Record Keys… button.

Click the Clear All button, enter a comma and then click the OK button.
If the Final Keys value for the UDPRN field is not {ENTER}, then highlight the value, click Edit/Record Keys.. and repeat the above actions entering a carriage return instead of a comma.
When finished the page should look similar to that shown above.
Click the Next >> button.

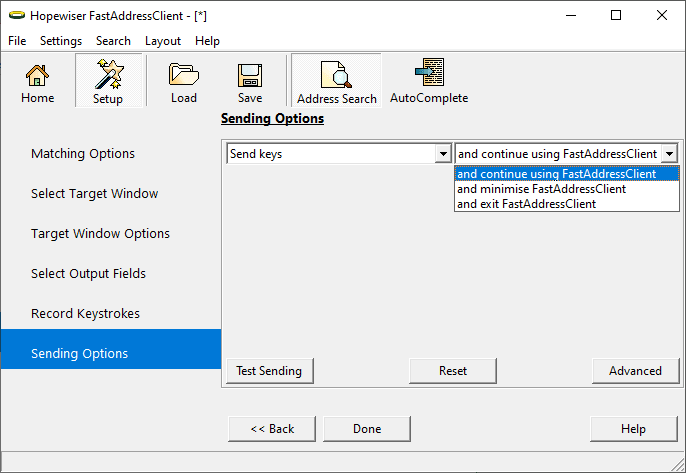
Next, choose what you want FastAddressClient to do after an address has been sent. You may select to close FastAddressClient after sending an address for example, then click the Done button.
Finally toggle the Send/Copy/Copy and Send button to specify a Send button, by clicking on the … button and selecting Send from the available options.

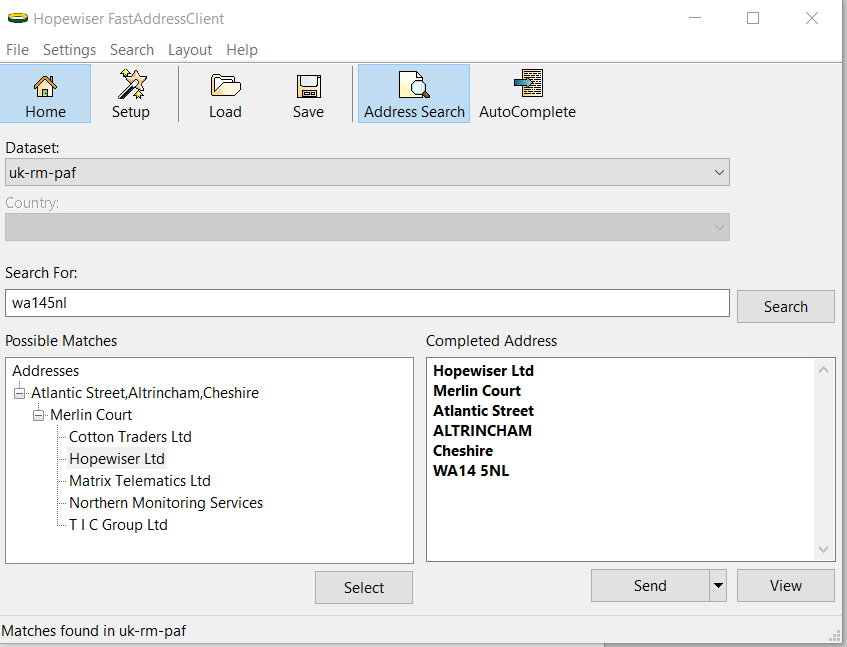
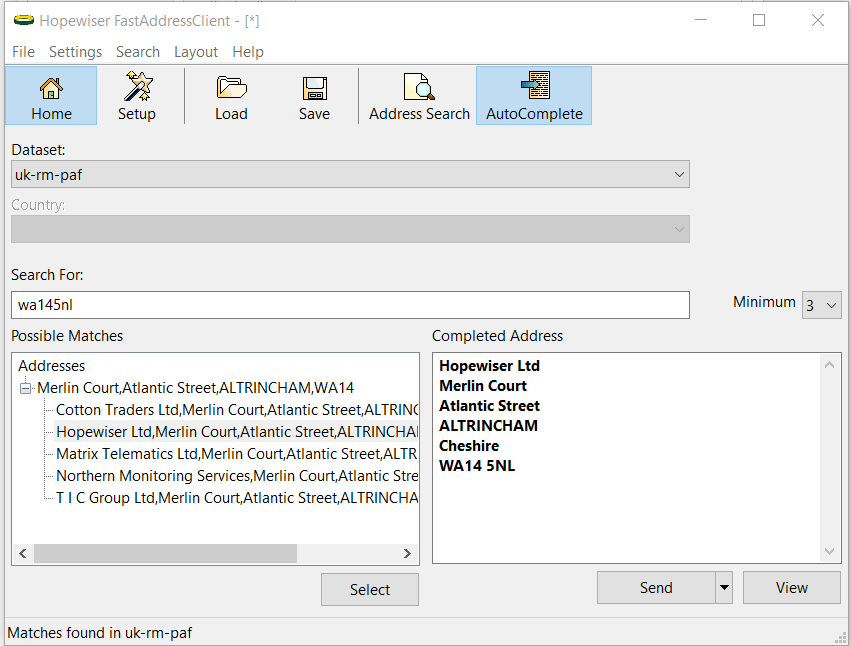
The previous image shows a captured address ready to be sent to Notepad.
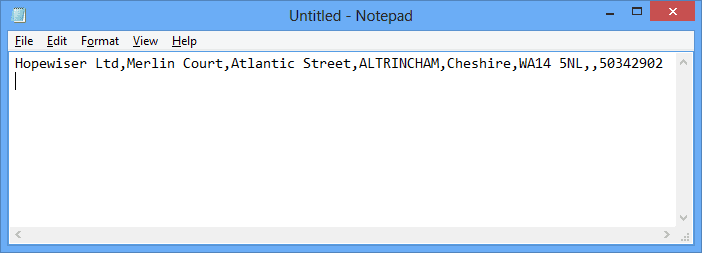
When you have matched an address click the Send button to send the address fields to the target application, in this case Notepad. The address fields will be sent to Notepad as seen in the image below.

